
DIY Recycle Acrylic ♻️
- Kevin Tan

- Nov 6, 2020
- 2 min read
Updated: Dec 6, 2020
Measurement Process


Collected some recycled acrylic from my dad. Firstly, measurement and lining need to be done for the next process of cutting. Purposely leaving some gap between another in order for the cutting process to be easier.
Cutting Process


Cutting process begin here. Did a couple of path lines with an acrylic cutter for about 30 times to have a nice and straight cutting line. After cutting both side, just snap it into half and there it is....one perfect piece. When I try to cut for the first times it doesn't work properly as much force and pressure is needed.
Fine File & Sandpaper Process


The following process - to smother the surface and edge area. I use a fine file to smother certain rough and uneven area. This process has to be done slowly and correctly. Once it is wrongly done there's no turning back. It took me around 20 minutes to smooth the surface.


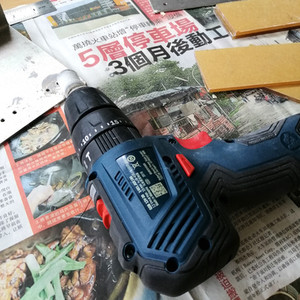
In order to make it look nicer and better, sandpaper drill and various filing are required. This process is a bit of a time consuming as filing the acrylic is not that easy.
Polishing Process


The following process - Polish to make it look clean and shinning.
This is how it look like when it polish using the cream
Any alternatives way and method could be done in order to polish it.
Alcohol Cleaning Process


This process is quite simple. Just clean it with alcohol solution then wipe it with a piece of cloth.
Glue Process


Final process - Glue the entire pieces of acrylic with one another to form the box. After that I let it dry under the sun for a couple of minutes.
Final Outcome


The final outcome of the box. Here is how the "DIY BOX" was made. The purpose of making the box - to place the "Healthy Habits Embroidery Icon" for the consumer to choose. Not only that, I've also gain some experience and knowledge during the process when executing it.


Comments